How to Install an Excel Add in
Sign up for our Excel webinar, times added weekly: https://www.excelcampus.com/blueprint-registration/
Step-by-step instructions on how to install an Excel add-in in Excel 2007, 2010, 2013, 2016 for Windows.
IMPORTANT NOTE: A July 2016 Office Security Update is causing the add-in ribbon menu to disappear. Here is a video that explains how to fix it. https://www.youtube.com/watch?v=AhnOU-ulqNg
Installing the add-in is pretty easy, and should only take a few minutes.
1. Save the add-in file to your computer.
– Pick any folder on your hard drive that is easy for you to find.
– My suggestion is to create a folder named “Excel Campus” and place it in your Documents folder.
2. Open Excel and go to the Options Menu.
– This varies depending on your version of excel.
– 2007 – Office Button, Excel Options
– 2010 & 2013 – File, Options
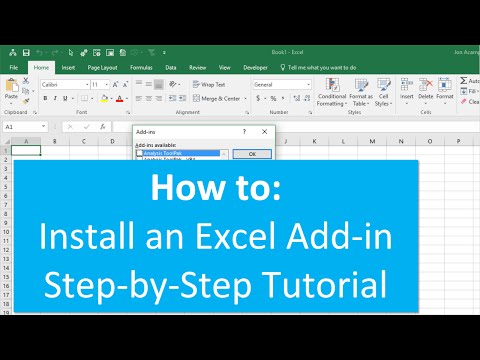
3. Click the “Add-Ins” option on the left-side menu, and then click the “Go…” button.
– You may have to wait a few seconds for the window to appear.
4. Click the “Browse…” button on the Add-Ins Menu.
5. Locate the add-in file you saved in Step 1, and click OK.
6. The Add-in will appear in the list and should be enabled, click OK.
7. Installation Complete – The add-in is now installed and should automatically open every time to you open excel.
Here is an article with written instructions and images. You can also download a pdf version and print it.
http://www.excelcampus.com/tools/how-to-install-an-excel-add-in-guide/
Checkout my video on how to uninstall and completely remove an Excel Add-in:
https://www.youtube.com/watch?v=5MVbR4pKAbU
00:00 Introduction
00:16 Add in file
00:55 Add in menu
01:56 Browse
03:40 Free Training
Comments are closed.