JoyCon Drift Fix! How to Replace the Nintendo Switch Left Joy-Con Joystick
The Nintendo Switch is out of stock pretty much everywhere—again. This console has been a hot commodity since its release, but having limited quantities available for purchase means if your Switch experiences the dreaded joy-con drift phenomenon, you might be stuck with a broken system.
Well, we wouldn’t want that—so today, we show you how to replace the left joystick on your Nintendo switch and fix that drift.
Buy a Left Joystick Fix Kit over at iFixit.com!
https://www.ifixit.com/Store/Game-Console/Nintendo-Switch-Joy-Con-Joystick/IF378-015?o=3&utm_source=nintendoswitchjoystickrepair&utm_medium=Annotation&utm_campaign=YouTube
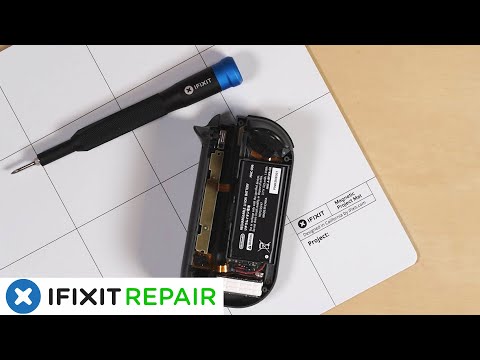
Our Magnetic Mat is great for organization!
https://www.ifixit.com/Store/Tools/Magnetic-Project-Mat/IF145-167?o=4&utm_source=nintendoswitchjoystickrepair&utm_medium=Annotation&utm_campaign=YouTube
00:00 Introduction
00:20 Tools Required
00:54 Opening Joy-Con
01:31 Disconnecting and Removing Battery
01:45 Mid-Frame Removal
01:58 Disconnecting Motherboard Zif Cables
02:15 Joystick Removal
02:25 Inserting New Joystick
02:39 Re-connecting Cables to Motherboard
02:50 Screwing Mid-frame Back In
03:05 Inserting Battery and Connecting Power
03:14 Closing Joy-Con and Inserting Screws
03:31 Whacking Character in Animal Crossing With a Net
Subscribe to our channel for all our latest teardown and repair videos!
https://www.youtube.com/subscription_center?add_user=ifixityourself
Follow us on Twitter: https://twitter.com/ifixit
Check us out on Facebook: https://www.facebook.com/iFixit .
Comments are closed.