Connecting a custom domain — Webflow tutorial
*We’re transitioning to Workspaces, and are in the process of updating our content. If your account is on Workspaces, you may see the “Publishing” tab in your Site settings, rather than the “Hosting” tab mentioned in this lesson.
Visit the Workspaces blog post to learn more about these updates and changes.
→https://webflow.com/blog/workspaces-teamwork-simplified
You can also learn how to check if your account is on Workspaces.
→https://university.webflow.com/lesson/transition-to-workspaces
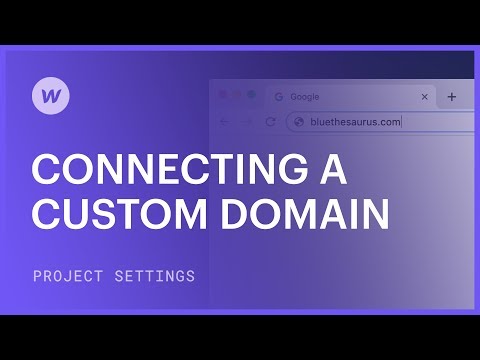
Learn how to point your custom domain to Webflow and connect it to your Webflow site in five steps:
1) Add a custom domain (0:34)
2) Update the DNS (0:46)
3) Set the default URL (4:02)
4) Verify the domain (4:22)
5) Publish the site (4:50)
———-
Get started with Webflow: https://wfl.io/2r7cVUW
https://webflow.com
https://twitter.com/webflow
https://facebook.com/webflow
Comments are closed.