Android Emulator on the remote VPS with Ubuntu + XFCE GUI and desktop connection to your local
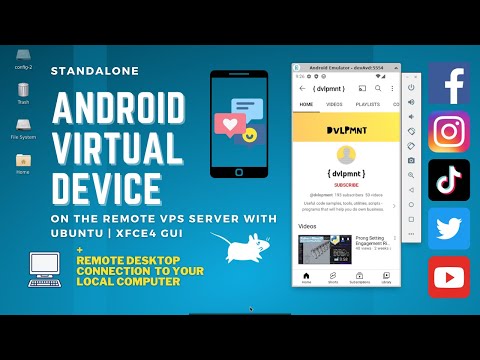
Start the standalone Android Emulator (AVD – android virtual device) from the command line on the remote server (VPS) with Ubuntu 22.04 LTS operation system and Xfce4 (graphical user interface). Set up a remote desktop connection to your local computer.
⚡ DigitalOcean cloud service: https://m.do.co/c/2307d54dc5e5
🔥 Digitalocean VPS is a very flexible thing, you can take it for a few hours and then destroy it. And again and again…
⚡ Android SDK: https://developer.android.com/studio
⚡ Open JDK: https://www.openlogic.com/openjdk-downloads
Step by step:
🔷 Setting up a virtual server with DigitalOcean:
🔸 Take a virtual machine with a mix of memory and compute resources
🔸 Resize a server. You can change the resources (CPU, RAM) that a server has
🔸 Connect to your VPS with SSH
🔷 Install Ubuntu Xfce4 Desktop:
🔸 apt update
🔸 apt install xfce4 -y
🔸 echo “xfce4-session” | tee .xsession
🔷 Install Chrome Browser:
🔸 wget https://dl.google.com/linux/direct/google-chrome-stable_current_amd64.deb
🔸 apt install ./google-chrome-stable_current_amd64.deb
🔷 Enable Remote Desktop Protocol:
🔸 apt install xrdp -y
🔸 ufw allow 3389/tcp
🔷 Just in case allow incoming ssh connection:
🔸 ufw allow OpenSSH
🔷 Enable Firewall and check:
🔸 ufw enable
🔸 ufw status
🔷 Install Microsoft Remote Desktop on your computer:
🔸 install the client
🔸 add PC connection (server IP and root password)
🔷 Run Remote Desktop and download Android SDK Tools and Java Development Kit
🔸 OpenJDK
🔸 Android SDK Command line tools only
🔷 Extract Android SDK Tools and OpenJDK to a directory:
🔸 mkdir devtools
🔸 mkdir devtools/JDK
🔸 mkdir devtools/android
🔸 mkdir devtools/android/cmdline-tools
🔸 ls ~/Downloads
🔸 tar -zxvf ~/Downloads/openlogic-openjdk-11.0.18+10-linux-x64.tar.gz -C ~/devtools/JDK/
🔸 cd ~/devtools/android/cmdline-tools
🔸 apt install unzip
🔸 unzip ~/Downloads/commandlinetools-linux-9477386_latest.zip
🔸 mv cmdline-tools tools (just rename)
🔷 Set environment variables:
🔸 vim ~/.bashrc
🔸 add the code:
JAVA_HOME=”/root/devtools/JDK/openlogic-openjdk-11.0.18+10-linux-x64″
ANDROID_HOME=”/root/devtools/android”
export JAVA_HOME
export ANDROID_HOME
PATH=”$JAVA_HOME/bin:$ANDROID_HOME/cmdline-tools/tools/bin:$ANDROID_HOME/platform-tools:$ANDROID_HOME/emulator:$PATH”
🔸 source ~/.bashrc
🔷 Check:
🔸 java –version
🔸 sdkmanager –version
🔷 Install Android Platform and Build Tools:
🔸 sdkmanager –list
🔸 sdkmanager “platform-tools” “platforms;android-33”
🔸 sdkmanager “build-tools;33.0.2”
🔷 Add android system image:
🔸 sdkmanager –list
🔸 sdkmanager “system-images;android-33;google_apis_playstore;x86_64″
🔷 Creating the AVD:
🔸 avdmanager create avd –name “devAvd” –package “system-images;android-33;google_apis_playstore;x86_64”
🔷 List avds:
🔸 emulator -list-avds
🔷 Running the emulator:
🔸 adb start-server
🔸 emulator -avd devAvd
🔷 If BACK and HOME buttons don’t work use ads shell key events:
🔸 adb shell input keyevent KEYCODE_BACK
🔸 adb shell input keyevent KEYCODE_HOME
❗Subscribe to this channel!