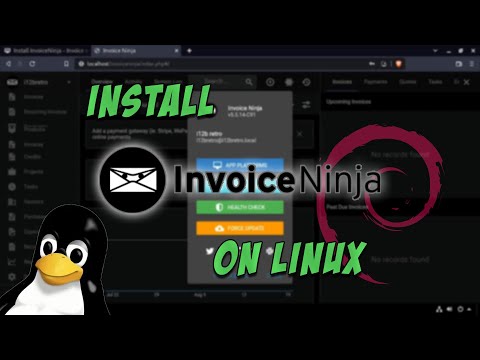
Install InvoiceNinja – Invoice and Payment Manager – On Linux
#InvoiceNinja #Invoice #Linux
Full steps can be found at https://i12bretro.github.io/tutorials/0818.html
What is InvoiceNinja?
[InvoiceNinja is a] powerful suite of features to invoice clients, facilitate payment, track-time & tasks, expenses, and more. – https://www.invoiceninja.com/invoicing-features/
Installation
01. Log into the Linux device
02. Run the following commands in a terminal window:
# update software repositories
sudo apt update
# install prerequisites
sudo apt install curl wget zip lsb-release apt-transport-https ca-certificates git -y
# add the php gpg key
sudo wget -O /etc/apt/trusted.gpg.d/php.gpg https://packages.sury.org/php/apt.gpg
# add the php apt repository
echo “deb https://packages.sury.org/php/ $(lsb_release -sc) main” | sudo tee /etc/apt/sources.list.d/php.list
# update software repositories
sudo apt update
# install available software updates
sudo apt upgrade -y
# install Apache HTTPD and MySQL
sudo apt install apache2 mariadb-server mariadb-client -y
# install PHP components
sudo apt install php8.1 libapache2-mod-php php8.1-common php8.1-bcmath php8.1-gmp php8.1-fileinfo php8.1-gd php8.1-mbstring php8.1-pdo php8.1-xml php8.1-curl php8.1-zip php8.1-gmp php8.1-mysql php8.1-fpm -y
# configure the MySQL database
sudo su
mysql_secure_installation
03. Press Enter to login as root
04. Type N and press Enter to not switch to unix socket authentication
05. Type Y and press Enter to set a root password, type the password twice to confirm
06. Type Y and press Enter to remove anonymous users
07. Type Y and press Enter to disallow root login remotely
08. Type Y and press Enter to remove the test database
09. Type Y and press Enter to reload privilege tables
10. Run the following command to login into MySQL:
mysql -u root -p
11. Authenticate with the root password set earlier
12. Run the following commands to create the InvoiceNinja database and database user
CREATE DATABASE invoiceninja;
GRANT ALL ON invoiceninja.* to ‘invoice_ninja_rw’@’localhost’ IDENTIFIED BY ‘!nv0ic3Ninj@!’;
FLUSH PRIVILEGES;
EXIT;
exit
13. Continue with the following commands:
# lookup latest invoiceninja release URL
regex='”browser_download_url”: “(https://github.com/invoiceninja/invoiceninja/releases/download/[^/]*/invoiceninja.zip)”‘ && response=$(curl -H “Accept: application/vnd.github.v3+json” https://api.github.com/repos/invoiceninja/invoiceninja/releases/latest) && [[ $response =~ $regex ]] && downloadURL=”${BASH_REMATCH[1]}”
# download the latest release
wget -O ./invoiceninja.zip $downloadURL
# extract the download .zip archive
sudo unzip ./invoiceninja.zip -d /var/www/invoiceninja
# change permissions on the storage directory
sudo chmod 755 /var/www/invoiceninja/storage/ -R
# copy sample .env file
sudo cp /var/www/invoiceninja/.env.example /var/www/invoiceninja/.env
# create/edit apache site configuration
sudo nano /etc/apache2/sites-available/invoiceninja.conf
14. Paste the following configuration into the .conf file
alias /invoiceninja /var/www/invoiceninja/public
≪Directory /var/www/invoiceninja/public≫
DirectoryIndex index.php
Require all granted
Options +FollowSymLinks
AllowOverride All
≪/Directory≫
15. Press CTRL+O, Enter, CTRL+X to write the changes
16. Continue with the following commands:
# edit .htaccess file
sudo nano /var/www/invoiceninja/public/.htaccess
17. Scroll to the bottom of the file and find the following line
RewriteRule ^ index.php [L]
18. Replace the line with the following
RewriteRule ^ /invoiceninja/index.php [L]
19. Press CTRL+O, Enter, CTRL+X to write the changes
20. Continue with the following commands:
# set the owner of the invoiceninja directory
sudo chown -R www-data:www-data /var/www/invoiceninja
# enable mod_rewrite
sudo a2enmod rewrite
# enable invoiceninja site
sudo a2ensite invoiceninja
# restart apache2 service
sudo systemctl restart apache2
InvoiceNinja Web Installer
01. Open a web browser and navigate to http://DNSorIP/invoiceninja/setup
02. The InvoiceNinja web setup should be load
03. Enter the URL to use for the site (ie http://DNSorIP/invoiceninja)
04. Uncheck the Require HTTPS option ≫ Click Test PDF
….Full steps can be found on GitHub [link at the top]
### Connect with me and others ###
★ Discord: https://discord.com/invite/EzenvmSHW8
★ Reddit: https://reddit.com/r/i12bretro
★ Twitter: https://twitter.com/i12bretro