5 minutes to set up v2ray+websocket over TLS on Debian 10 (see description below for details)
Preparations before setup
1. You need to have an available domain. Find free domains at www.dot.tk
2. A reliable VPS provider, Get $50 credit for 30 days, https://www.vultr.com/?ref=7772365-4F
Install v2ray
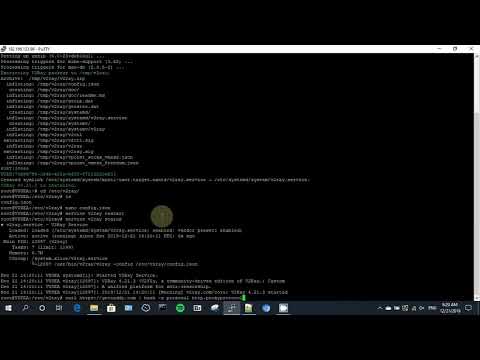
curl -L -s https://install.direct/go.sh | bash
V2ray server config
{
“inbounds”: [
{
“port”: 10000,
“listen”:”127.0.0.1″,
“protocol”: “vmess”,
“settings”: {
“clients”: [
{
“id”: “b831381d-6324-4d53-ad4f-8cda48b30811”,
“alterId”: 64
}
]
},
“streamSettings”: {
“network”: “ws”,
“wsSettings”: {
“path”: “/v2-vultr”
}
}
}
],
“outbounds”: [
{
“protocol”: “freedom”,
“settings”: {}
}
]
}
Install Caddyserver
curl https://getcaddy.com | bash -s personal http.proxyprotocol
Caddyserver config
your.domain {
log /var/log/caddy_access.log
tls [email protected]
proxy /v2-vultr localhost:10000 {
websocket
header_upstream -Origin
}
}
V2ray client config
{
“inbounds”: [
{
“port”: 1080,
“listen”: “127.0.0.1”,
“protocol”: “socks”,
“sniffing”: {
“enabled”: true,
“destOverride”: [“http”, “tls”]
},
“settings”: {
“auth”: “noauth”,
“udp”: false
}
}
],
“outbounds”: [
{
“protocol”: “vmess”,
“settings”: {
“vnext”: [
{
“address”: “your.domain”,
“port”: 443,
“users”: [
{
“id”: “b831381d-6324-4d53-ad4f-8cda48b30811”,
“alterId”: 64
}
]
}
]
},
“streamSettings”: {
“network”: “ws”,
“security”: “tls”,
“wsSettings”: {
“path”: “/v2-vultr”
}
}
}
]
}
V2ray client download
https://github.com/v2ray/v2ray-core/releases